Pricing tables are a crucial element for any service-based website, but they often force users to rely on heavy page builder plugins. The good news is that you can build a clean, responsive, and professional pricing table using nothing but the default WordPress Gutenberg core blocks.
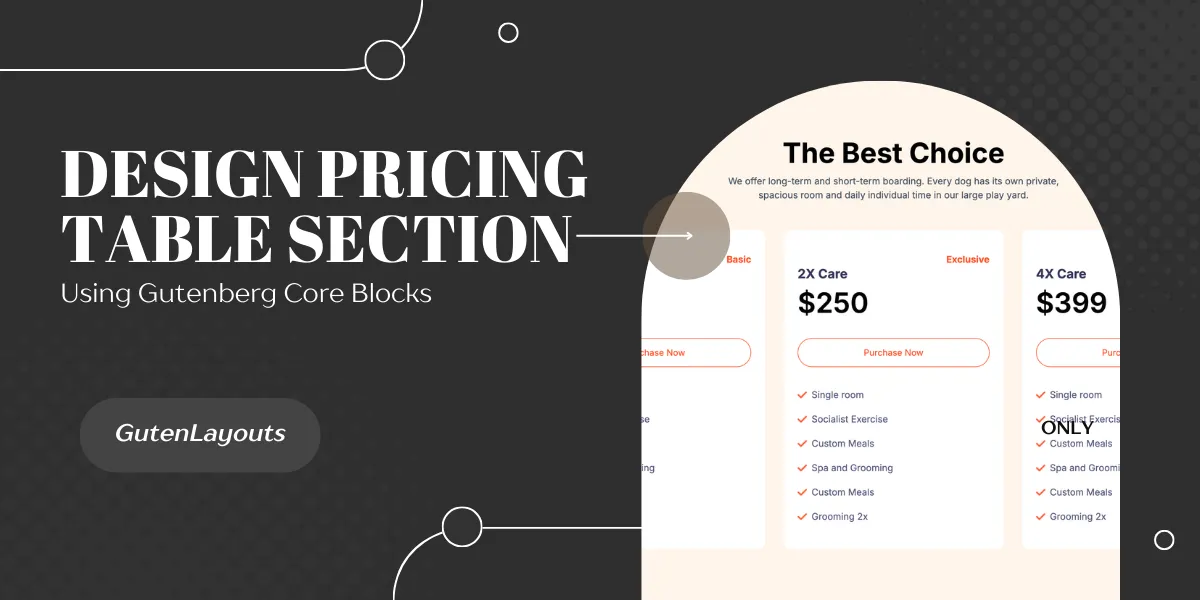
In this tutorial, we will the following pricing section with a 3-column layout, custom cards, and feature lists.

01: Set Up the Section Container
First, we need a main container to hold the entire section and provide the background color.
- Add a Group Block to your page.
- In the toolbar, set the alignment to Full Width.
- Background & Spacing:
- Set the Background Color to
#fff6ed(a light cream color). - Set the Padding to Top:
6rem, Bottom:6rem, Left:1rem, and Right:1rem.
- Set the Background Color to
- Layout: inside the block settings, ensure the content width is constrained to
1200pxto keep the table centered on large screens.
02: Add the Section Header
Inside your main group, we will add the title and description.
- Add a Heading Block (H2).
- Text: “The Best Choice”
- Alignment: Center
- Typography: Set font weight to Bold (700) and size to
3rem.
- Add a Paragraph Block below the heading.
- Text: “We offer long-term and short-term boarding…”
- Alignment: Center
- Color: Set text color to
#535f70(Gray).
03: Create the Columns
Now, let’s create the structure for the three pricing cards.
- Add a Columns Block inside the main Group.
- Select the 33 / 33 / 33 variation (three equal columns).
- In the Block Settings for the Columns block, set the Block Gap (spacing between columns) to
2rem.
04: Design the First Pricing Card
To save time, we will fully design the first column (The “Basic” plan) and then simply duplicate it for the others.
1. The Card Container
- Select the first Column.
- Set the Background Color to White (
#ffffff). - Border Radius: Set to
12pxfor rounded corners. - Padding: Set Top/Bottom to
2.5remand Left/Right to1.5rem.
2. The Plan Label & Name
- Add a Paragraph Block.
- Text: “Basic”
- Alignment: Right
- Color: Orange (
#ff5b2e). - Typography: Set weight to normal.
- Add another Paragraph Block.
- Text: “Daycare”
- Color: Dark Blue (
#3f4065). - Size:
22px.
3. The Price
- Add a Heading Block (H3).
- Text: “$150”
- Color: Black (
#010101). - Size:
3rem.
4. The Purchase Button
- Add a Buttons Block.
- Select the individual Button.
- Style: Select Outline.
- Color: Set text color to Orange (
#ff5b2e). - Border: Set radius to
100px(pill shape). - Text: “Purchase Now”.
05: The Features List
For the checklist items (e.g., “Single room”, “Socialist Exercise”), we will create a reusable row layout.
- Add a Group Block below the button. Set the layout to Flex (Row).
- Inside this row:
- Add an Image Block: Upload a small checkmark icon (resize width to roughly
16px). - Add a Paragraph Block: Type the feature name (e.g., “Single room”). Set the line height to
2to align it nicely with the icon.
- Add an Image Block: Upload a small checkmark icon (resize width to roughly
- Duplicate the Row: Select this Group (Row), click the three dots in the toolbar, and select Duplicate. Repeat this for as many features as you need for this plan.
06: Duplicate and Customize
Now that the first card is perfect, you don’t need to build the others from scratch.
- Select the Column (the white container we just styled).
- Click the three dots options menu and select Duplicate.
- Drag the duplicated column into the empty slots of your Columns block (or delete the empty columns and just keep duplicating the finished one).
- Update Content:
- Change the titles to “Exclusive” or “Platinum”.
- Update the prices ($250, $399).
- Update the feature lists.
Conclusion
By using nested groups and column blocks, you have created a high-converting pricing table without writing a single line of code. This method ensures your design remains lightweight and loads instantly for your visitors.